
Header images help users understand what your page is about at a glance. This page gives you a step-by-step overview of how to create them. Please note this process is a little more complicated than most WordPress tasks, and it may be easier for you if you’ve had some experience placing and adjusting images in PowerPoint. It’s OK to ask for help if you get stuck!
The template for header images is in PowerPoint. You can access the file here.
What’s a header image?
A header image is a full-width image at the top of a landing page. It gives users a quick understanding of what a page is about. A good header image:
- Supports the main message of the page’s content
- Helps set the tone for the page
- Is aesthetically appealing
- Aligns with the image guidelines for OEC’s website (see website style guidelines for more)
When should a page have a header image?
Pages that are particularly popular or cover priority initiatives (such as campaigns) can benefit from a header image. When considering if a page needs one or not, ask yourself the following:
- Is this page a priority for OEC?
- Does adding a visual make sense given the content? Does the visual support the main message?
- Is there a logo associated with the page that would be good to highlight?
Create the header image in PowerPoint
The first thing to do is choose the photo, logo, or other image file you want to use. Then, you use PowerPoint to combine your chosen image with the header image template.
1. Choose a photo, logo, or other image you want to use in your header
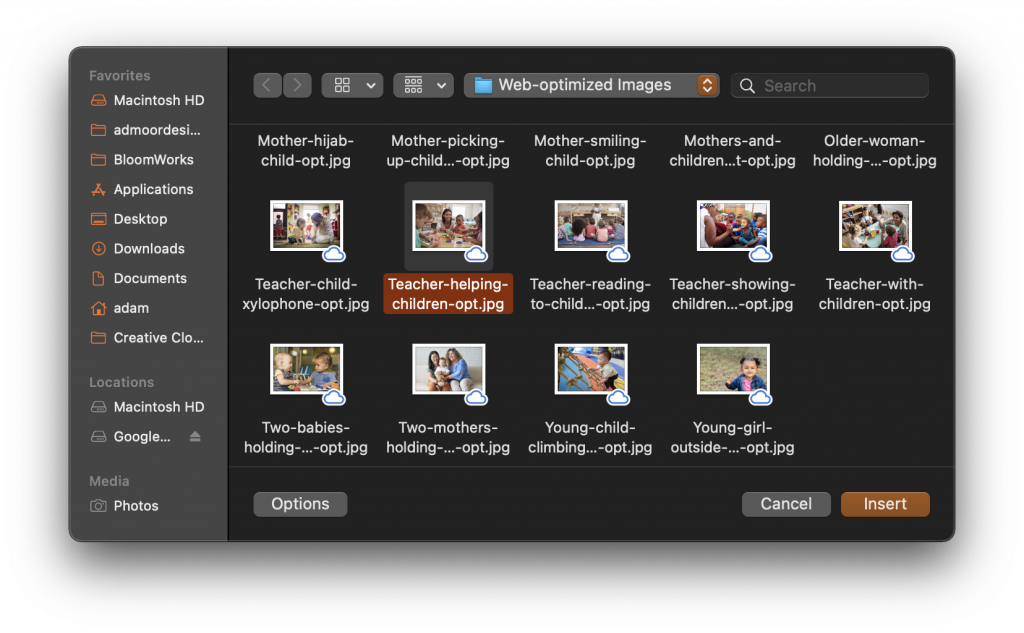
A selection of web-optimized photos can be found in the OEC P-Drive.
2. Download the PowerPoint header image template and open it
- Download the PowerPoint header image template.
- When you open the PowerPoint template, you’ll see 2 slides with different templates.
- Slide 1 is for photos
- Slide 2 is for logos
- In most cases, you’ll want to use the photo template. But if the page is about a specific initiative and you have a logo, you can use the logo template instead.
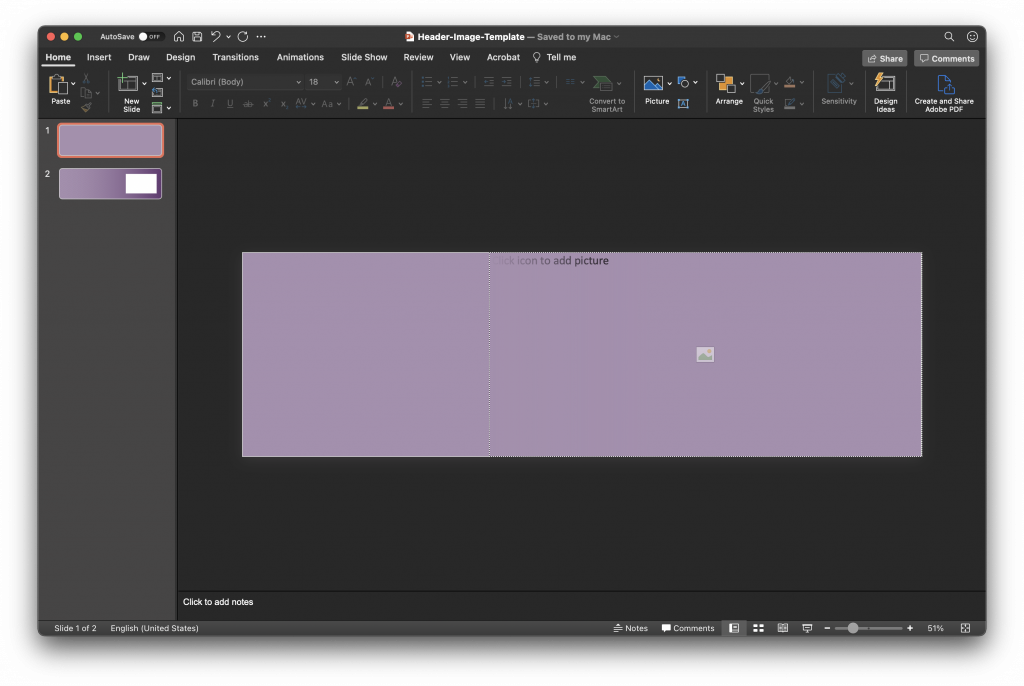
3. Place the photo, logo, or other image in the template
- Click the box that says “click icon to add picture” and select a picture from your files
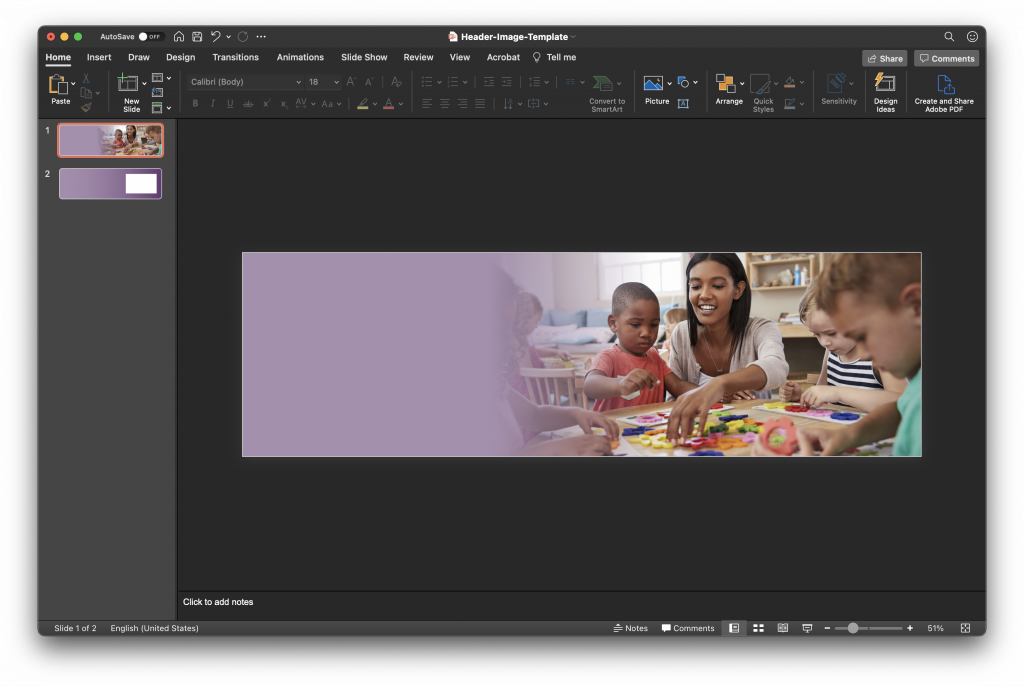
- The template is designed to fade the left side of the picture into the purple banner — see screenshots for reference. If the picture is not faded on the left side after you place it, right click your picture and choose “Send to Back.”
- Resize the image to fit the box as best you can
- Your image may be smaller than the box in the template — if so, click and drag the edges of the image to enlarge it to fit the bounds of the box
- It’s OK if your image is taller than the image box itself — just make sure the focus of your action is visible
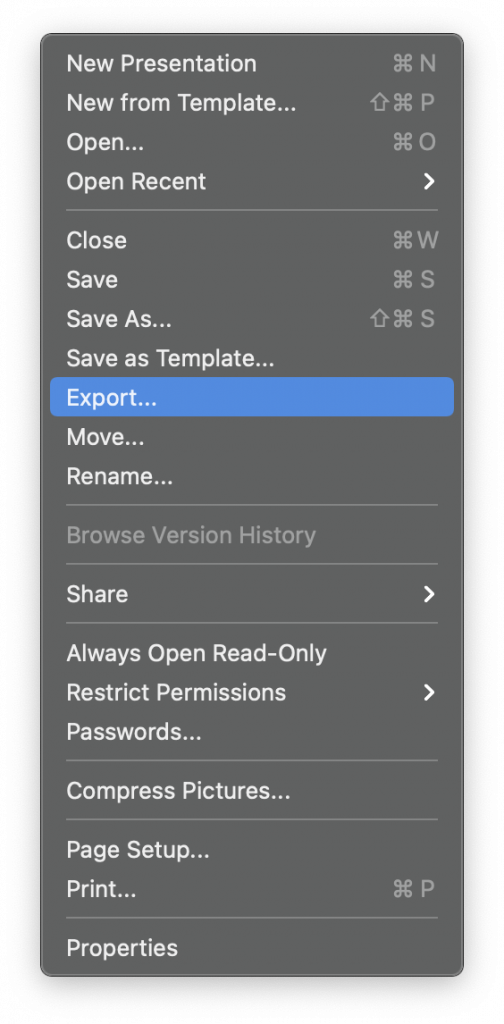
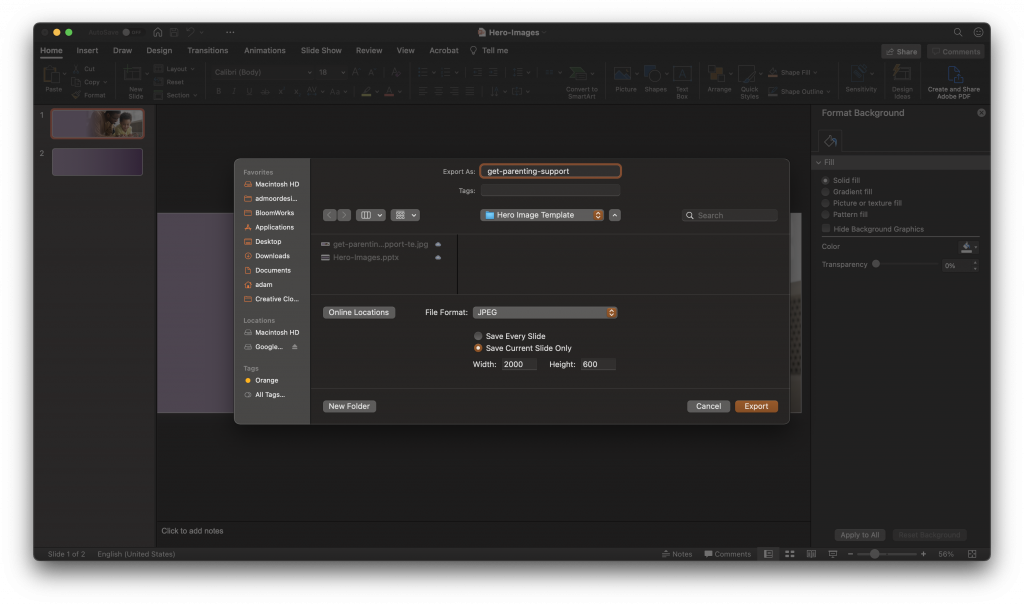
4. Export the finished header image as a JPG file
- Once your image is how you like it, go to File > Export
- Navigate to an appropriate folder for your image
- For convenience, we’ve created a folder called “Output Files” in the P-drive, so it’s recommended they go in there, but not required
- Change the file format to JPEG
- If available, select “Save Current Slide Only” and set your image width to 2000px and height to 600px
- Click “Export”
Add the header image to your WordPress page
5. Upload the new image to WordPress
You can either use the Media section to upload your images, or navigate to the page you want to add an image to first. For this walkthrough, we’ll start at the page we want to add an image to.
- To edit a page, click “Edit Page” in the WordPress options bar at the top of your browser window

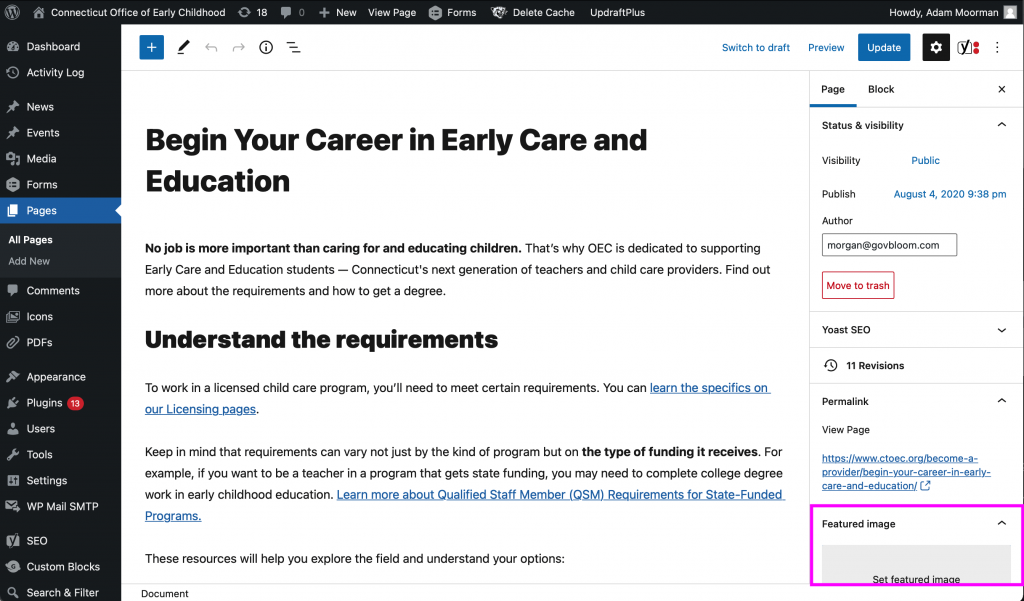
- Expand the Settings menu if it’s not already by clicking the gear icon
- The “Featured image” section is under the “Page” tab of the Settings bar, and may be out of view initially — if so, scroll down slightly to see it
- Click “Set featured image” to open the media/upload page
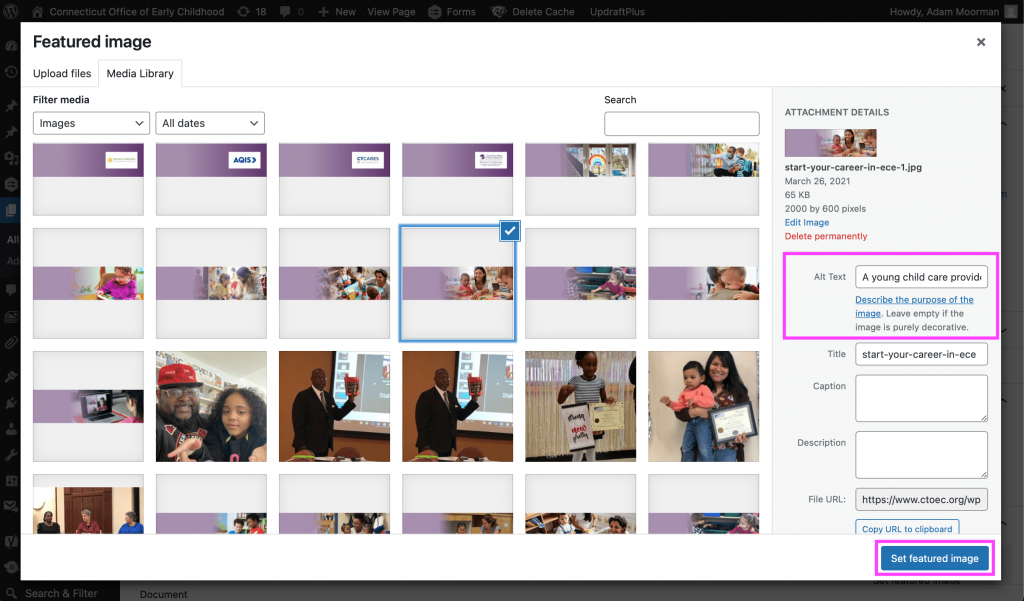
- Upload your image, or if you already have, select it
- Make sure to add Alt Text describing what’s in your image for users with visual impairments
- Click “Set featured image” to add the image to the page
- Preview the page to see how it looks (note that you won’t see the image at the top if you’re in the editor)
- You did it! The header image will immediately appear in the right sidebar where “Set featured image” was, and will be at the head of your page with the title of the page included in it
- Publish or Update your page and TA DA!
- NOTE: Header images may be slightly cropped or shifted after uploaded to the site, as their size is relative to the size of the browser window. The PowerPoint template is built to minimize these issues, but we wanted to let you know there could be some slight variance once it’s up.

Image files sizes can get pretty large, which can affect page load time. Ideally, file size for images should be under 500KB when possible — so if your image is substantially larger than this, we suggest compressing the image before uploading it to WordPress.
- Go to compressor.io
- Drag and drop the image you output into the designated area (default settings are fine)
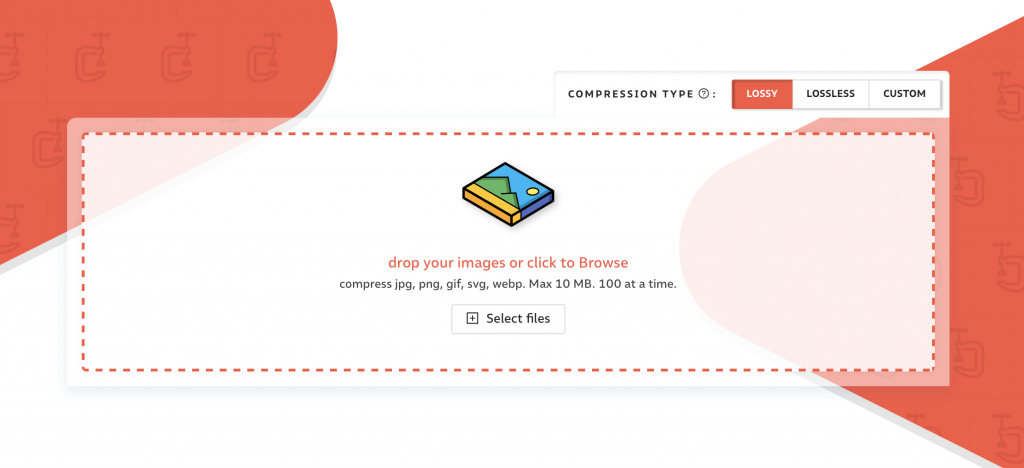
- Once compressed, you will see a “Download” button beneath the — click it
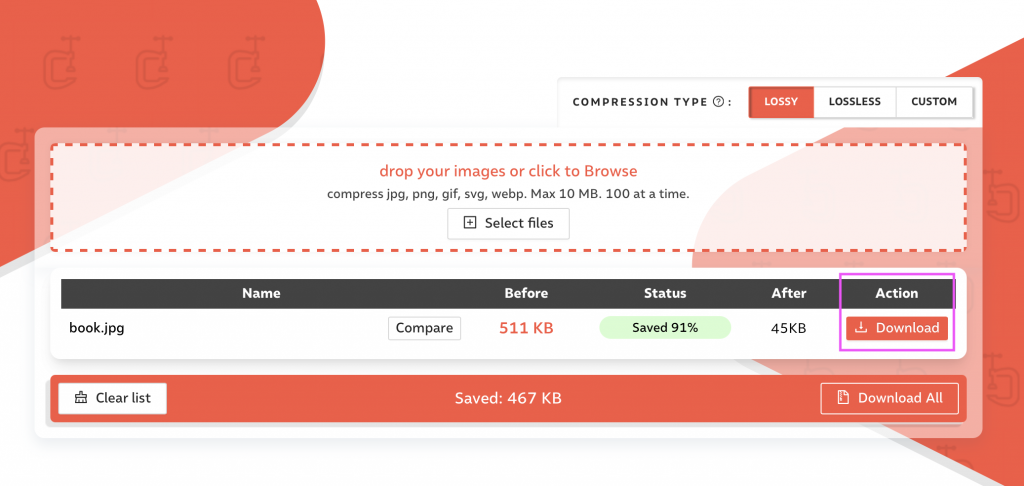
- The newly-compressed JPG will download to whichever folder your browser is set to download to (likely Downloads)